
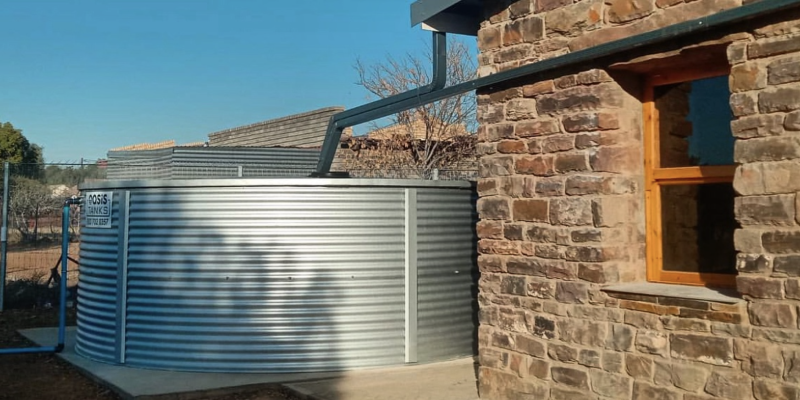
Why You Should Install a Rainwater Harvesting System
Water security has become a major concern for many South Africans. With rising municipal costs and frequent “water-shedding” in cities like Johannesburg and Cape Town, homeowners are looking for ways to become self-sufficient.
When you install a rainwater harvesting system, you take the first step toward independence. Not only does it lower your monthly utility bill, but it also provides a vital backup during infrastructure failures. Furthermore, rainwater is soft and chemical-free, making it perfect for your garden and pool.
Step 1: Calculate Your Catchment Capacity
Before you buy your tank, you need to understand how much water you can actually collect. In South Africa, a general rule of thumb is that 1mm of rain on 1m² of roof equals 1 litre of water.
- Measure your roof: Calculate the total square meterage of the roof area connected to your gutters.
- Check local rainfall: Research the average monthly rainfall for your specific province.
- Choose the right tank: For most urban South African homes, an Oasis Aluzinc Steel Tank provides a more durable, UV-resistant alternative to standard plastic tanks.
Step 2: Prepare a Solid Foundation
A common mistake when people install a rainwater harvesting system is neglecting the base. A full 5,000-litre tank weighs 5 tons. If the ground is uneven, the tank may tilt or crack over time.
For an Oasis steel tank, we recommend a 150mm thick sand pad or a level concrete plinth. Ensure the base is at least 100mm wider than the diameter of the tank to provide adequate support and prevent erosion around the edges.
Step 3: Install Gutters and Pre-filtration
The quality of your stored water depends on how you filter it before it enters the tank. First, ensure your gutters are sloped correctly toward your downpipes.
Next, you should add a leaf catcher and a first-flush diverter. A first-flush diverter is essential because it discards the first few litres of “dirty” rain that wash dust and bird droppings off your roof. Consequently, only the cleanest water enters your Oasis tank.
Step 4: Connecting the Tank and Pump
Once the tank is in place, you need to connect the piping. Use flexible hoses for the final connection to the tank. This is important because it allows for slight movement as the tank expands and contracts with water weight.
If you plan to use the water for your house or a high-pressure irrigation system, you will need a booster pump. We recommend housing the pump in a protective cover to shield it from the South African sun and potential rain damage.
Maintenance for Long-term Use
To keep your system running smoothly, you must perform regular maintenance.
- Clean your gutters every three months to prevent blockages.
- Inspect the tank’s mozzie screen to ensure no insects are breeding inside.
- Check the pump’s pressure once a month to ensure there are no leaks in the line.
Ready to Secure Your Water Supply?
Oasis Tanks offers a range of Aluzinc steel tanks designed to last up to 40 years in tough South African conditions. Whether you need a small domestic setup or large-scale agricultural storage, we have the solution.